
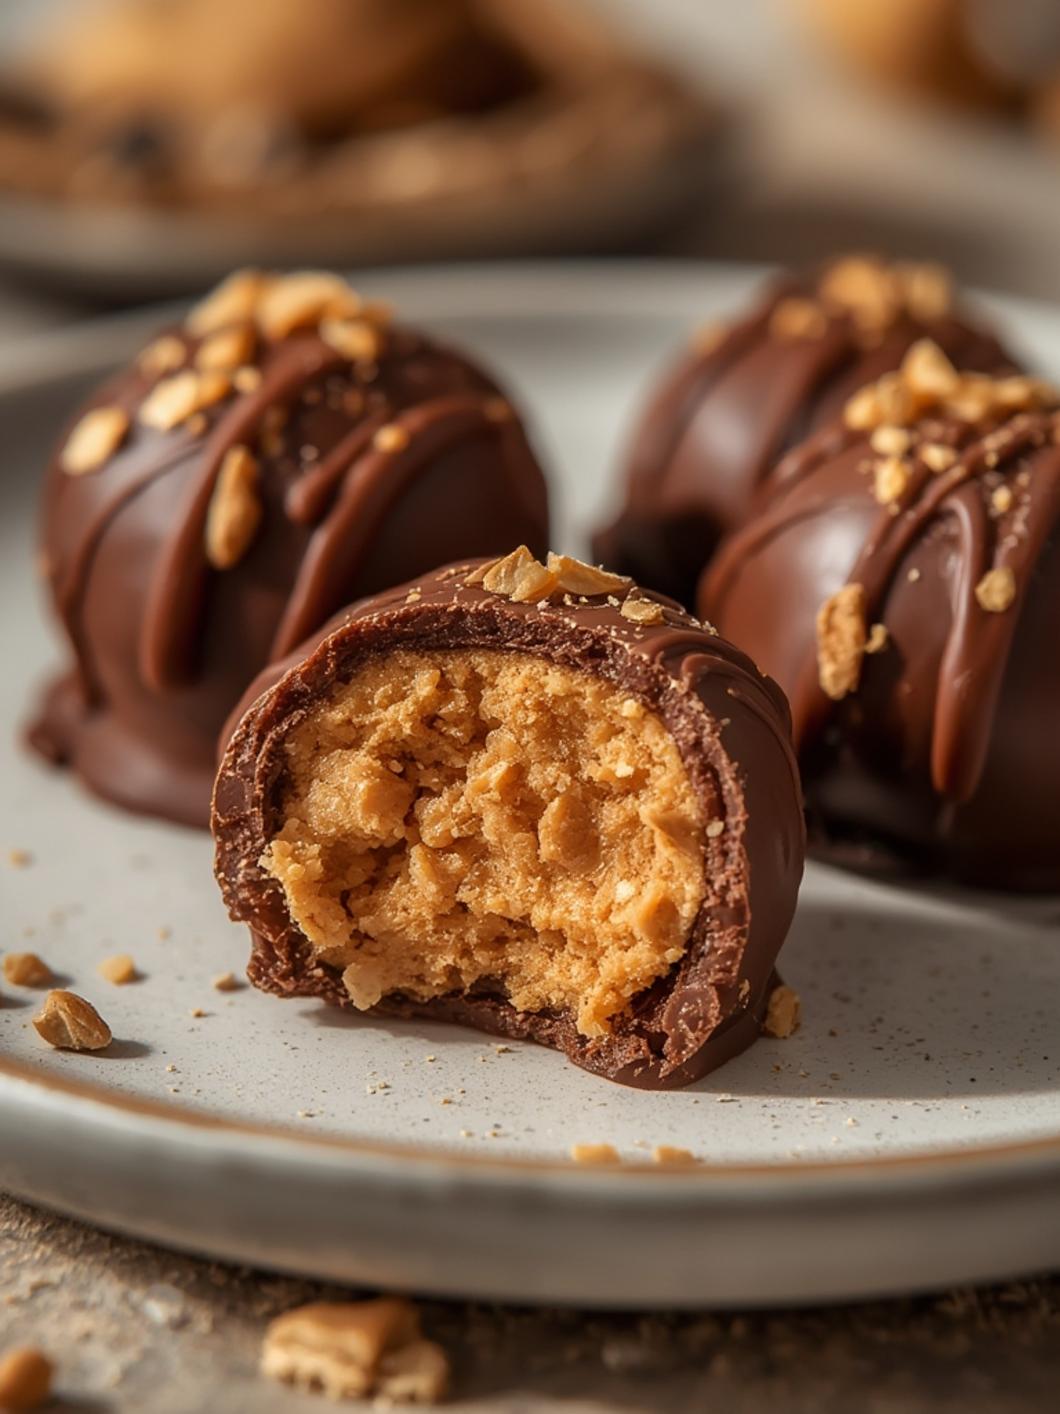
If you’re craving a rich, indulgent dessert that combines the irresistible flavors of chocolate and peanut butter, these Peanut Butter Chocolate Truffles are exactly what you need. This Peanut Butter Chocolate Truffles Recipe delivers the perfect balance of creamy, nutty filling encased in a smooth chocolate shell, creating bite-sized treats that rival anything from a gourmet chocolatier. Whether you’re preparing homemade confections for a special occasion, looking for an impressive yet simple dessert to serve guests, or simply want to satisfy your sweet tooth with a no-bake treat, this recipe checks all the boxes. With just a handful of ingredients and minimal hands-on time, you’ll create elegant truffles that look professionally made but require no special equipment or advanced candy-making skills. The combination of rich peanut butter, powdered sugar, butter, and quality chocolate creates a melt-in-your-mouth texture that’s utterly addictive. These chocolate-covered peanut butter balls are perfect for holiday gift-giving, dessert tables, or keeping stashed in your freezer for whenever a chocolate craving strikes.
Step-by-Step Instructions
Ingredients:
– 1 cup creamy peanut butter
– 4 tablespoons unsalted butter, softened
– 1 cup powdered sugar
– 1 teaspoon vanilla extract
– 2 cups semi-sweet or dark chocolate chips
– 1 tablespoon coconut oil or vegetable shortening
– Sea salt flakes for garnish (optional)
Instructions:
Start by preparing the peanut butter filling. In a large mixing bowl, combine the creamy peanut butter and softened butter, beating them together with an electric mixer or sturdy spoon until completely smooth and well incorporated. This base mixture creates the foundation for your Peanut Butter Chocolate Truffles, so ensure no lumps remain.
Gradually add the powdered sugar to the peanut butter mixture, mixing continuously until a thick, dough-like consistency forms. Stir in the vanilla extract for added depth of flavor. The mixture should hold its shape when rolled but still feel slightly soft.
Line a baking sheet with parchment paper. Using a small cookie scoop or tablespoon, portion out the peanut butter mixture into approximately one-inch balls, rolling each portion between your palms to create smooth, round spheres. This Peanut Butter Chocolate Truffles Recipe typically yields about 24-30 truffles depending on size. Place the formed balls on the prepared baking sheet and refrigerate for at least 30 minutes until firm.
While the peanut butter centers chill, prepare your chocolate coating. Combine the chocolate chips and coconut oil in a microwave-safe bowl. Microwave in 30-second intervals, stirring thoroughly between each heating, until the chocolate is completely melted and smooth. The coconut oil helps create a thinner coating that sets with a beautiful sheen.
Remove the chilled peanut butter balls from the refrigerator. Working with one truffle at a time, drop it into the melted chocolate, using a fork or dipping tool to turn and coat it completely. Lift the truffle, allowing excess chocolate to drip back into the bowl, then return it to the parchment-lined baking sheet. If desired, immediately sprinkle a few sea salt flakes on top before the chocolate sets.
Repeat the dipping process with all remaining truffles. Refrigerate the chocolate-coated candies for 15-20 minutes until the chocolate shell is completely firm and set.
Tips
For the smoothest truffle centers, ensure your butter is truly softened to room temperature before mixing—this prevents lumpy filling. If your peanut butter mixture feels too soft to roll, add powdered sugar one tablespoon at a time until the consistency is workable. Conversely, if it’s too stiff, add a teaspoon of peanut butter to loosen it slightly.
When melting chocolate, avoid overheating, which can cause it to seize and become grainy. Always use low heat and stir frequently. If your chocolate seems too thick for dipping, add additional coconut oil in small increments until you achieve the perfect coating consistency.
Keep your hands slightly cool while rolling the peanut butter balls—warm hands can make the mixture sticky. Run your hands under cold water and dry them thoroughly between batches if needed. Store finished truffles in an airtight container in the refrigerator for up to two weeks, or freeze them for up to three months.
Alternative Methods
For a double-chocolate variation, mix two tablespoons of cocoa powder into the peanut butter filling before forming the balls. You can also use different chocolate coatings—try milk chocolate, white chocolate, or even ruby chocolate for unique flavor profiles and visual appeal.
If you prefer crunchy texture, substitute crunchy peanut butter for half the creamy peanut butter, or roll the finished truffles in crushed peanuts, cookie crumbs, or sprinkles before the chocolate sets. For a shortcut version, use store-bought peanut butter cups as centers and simply dip them in melted chocolate.
Those avoiding dairy can easily adapt this recipe by using dairy-free chocolate chips and substituting the butter with additional peanut butter or coconut oil. Sugar-conscious bakers can experiment with powdered erythritol or monk fruit sweetener as a powdered sugar replacement, though the texture may differ slightly.
Conclusion
These Peanut Butter Chocolate Truffles prove that exceptional homemade confections don’t require professional training or complicated techniques. This Peanut Butter Chocolate Truffles Recipe transforms simple pantry ingredients into luxurious chocolate candies that taste as impressive as they look, making them ideal for sharing with loved ones or keeping as your secret sweet indulgence. The beauty of these no-bake chocolate treats lies in their versatility—customize them with different coatings, mix-ins, or toppings to suit your preferences and dietary needs. Once you master this basic technique, you’ll find endless variations to explore, from adding crushed pretzels for salty crunch to drizzling contrasting chocolate over the top for decoration. The combination of creamy peanut butter centers and rich chocolate coating creates an irresistible flavor experience that appeals to both children and adults alike. Make a batch today and discover how simple it is to create confectionery magic in your own kitchen with ingredients you likely already have on hand.